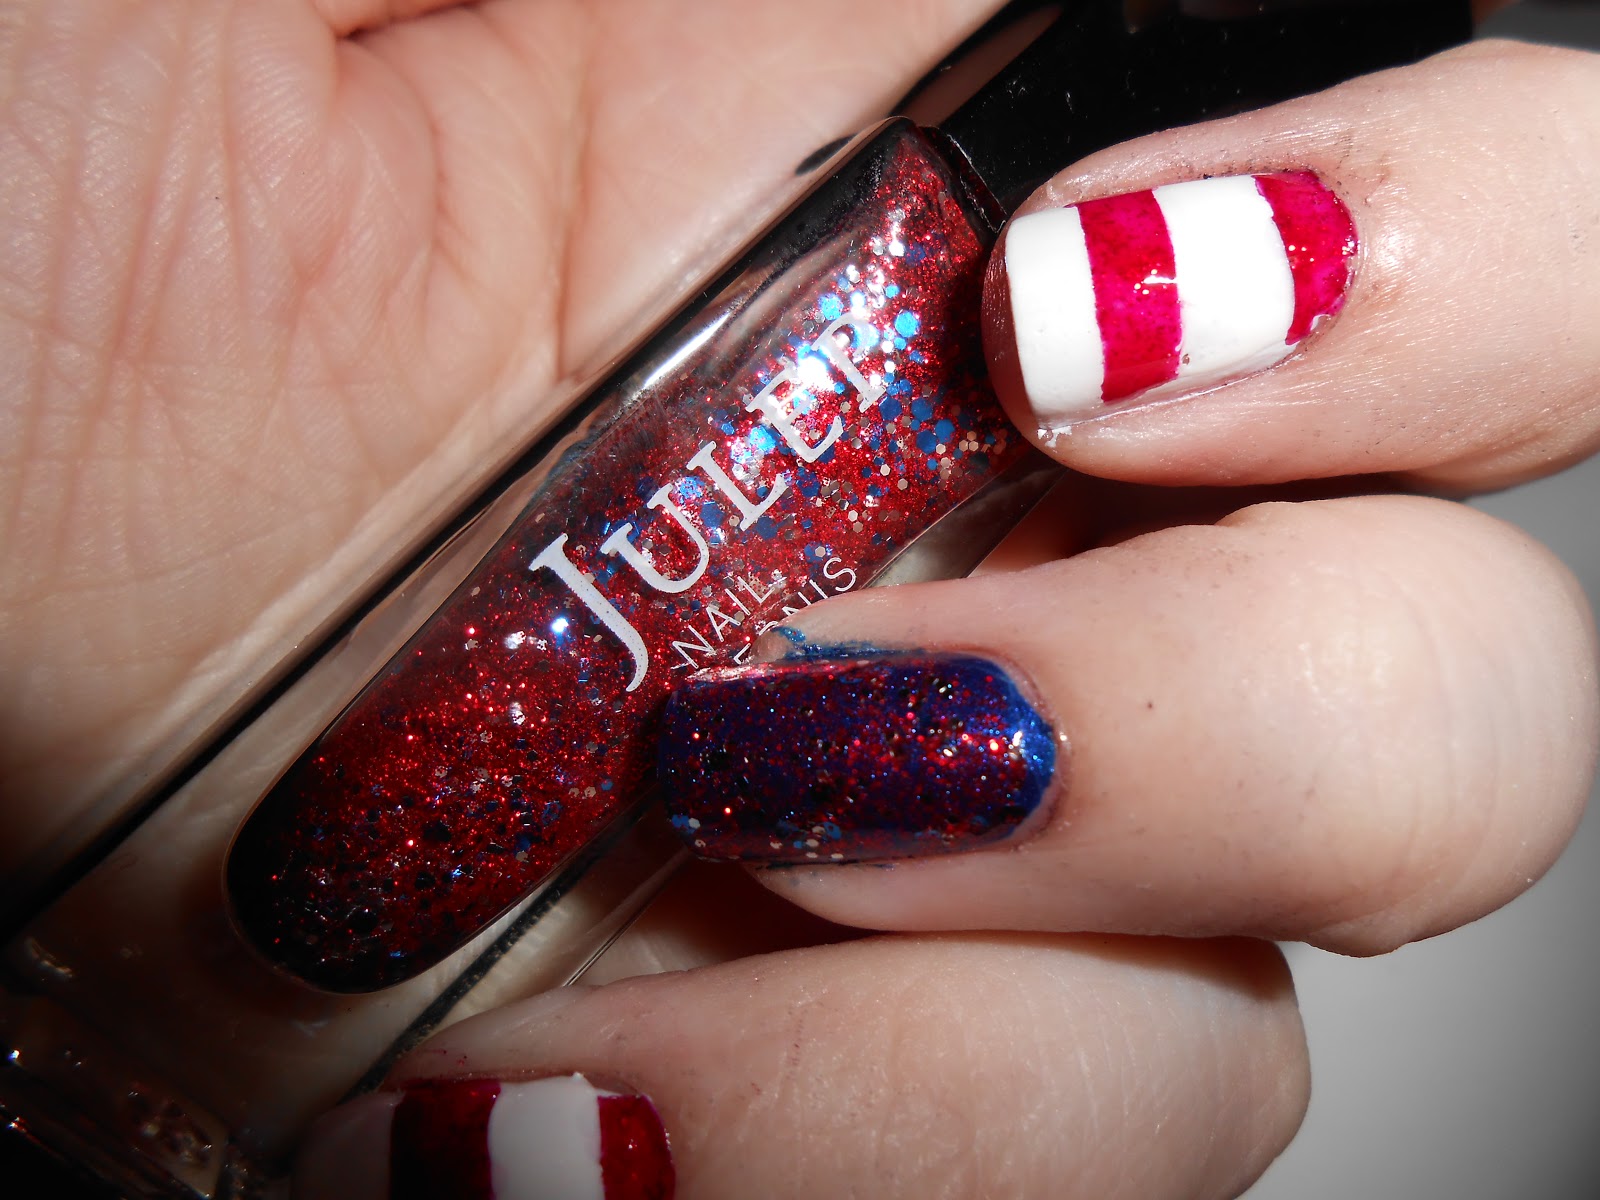
Showing posts with label Julep. Show all posts

Tuesday, March 3, 2015

End Endo: Bloomin' Uterus love

This is a special post for me because it's a post for a special lady.

I work with Lisa. 
Lisa is a badass.
Lisa rides motorcycles and fights fires and makes me laugh like no other at work.
Lisa is brave and strong and incredibly open and vulnerable.
Lisa is fighting endometriosis.

She is incredibly candid and inspiring as she goes through life with her diagnosis, which unfortunately came much later than it should have.  She has a blog, Bloomin' Uterus, where she writes about life after surgery, the disease, how she copes, and life.  She has begun to build an inspiring community of people who are in this battle together, because she took the leap and spoke about her own experience.  I get chills when she tells me about the women she's meeting, online and in person, who all feel the same--they think they're the only ones.  They want to hear someone else understands.  They want community.  She is giving them that.

Lisa is a rockstar. 

One of the things she did, to remind women with a disease that attacks what's fundamentally female that they are still beautiful and feminine, was create the Bloomin' Uterus.


Isn't it adorable?!  It's a reminder that endometriosis doesn't break you.  It doesn't ruin you.  There's life and beauty after diagnosis and strength in numbers.  I'm so proud to carry my pin on my bag every day.  If you are interested in one for yourself (or a bunch for your friends) check out her GoFundMe page: End Endo.

So, since March is endometriosis awareness month and the awareness color is yellow, I'm going to do some yellow manis for Lisa and women like her.  Today's is obviously inspired by her brilliant Bloomin' Uterus:


*1 coat Gelous base
*3 coats Sally Hansen Xtreme Wear Mellow Yellow
*1 coat Julep Tilda
*2 coats Out the Door


I used Mellow Yellow, a cream base, for my (duh!) yellow.  I used thin coats and it streaks a bit, so I went with 3 coats.  I added Tilda, a teal shimmer topper, for a little sparkle.  Then I added some rhinestone flowers, which I love, for my accents.  I really like how these turned out and like even more that they make me think of Lisa and her beautiful work every time I look down.

I would love it if you'd take a moment to check Lisa's pages out this month, especially if you or someone you love are dealing with endometriosis--there's strength in numbers!

Tuesday, February 19, 2013

Stay the night (maybe not)

When I was at Nordstrom Rack last week I picked up a couple of OPI Liquid Sand polishes.  I had been looking at them on blogs and hated the idea of a rough polish, but liked the look of a couple.  The first I wore was Stay the Night.


I used a base of Yello-Out and 2 coats of Stay the Night, like the bottle instructed.  When it dried, it was really gritty, almost like a nail file.  I knew I would hate it a lot.  My plan was always to add a top coat to this color.  I added 2 coats of Julep Rose as an accent because it is the closest color I could find to the glitter, but it's really not a very good match. Stay the Night is a black base with a magenta micro glitter throughout.


I added 1 thick coat of Hoof Lacquer and 2 thick coats of Out the Door.  This was still not as smooth as I had hoped, but not gritty like it is meant to be.  I was really surprised at how sheer these polishes are.  In the future, I think I will use a black base for this to eliminate the nail lines.  I was not as in-love with this as I was when I looked at swatches, which was a bit of a disappointment.  I'll hopefully love it more when it is more opaque.  Have you tried any of these yet?  What did you think?  Can you stand the gritty finish?

Tuesday, February 12, 2013

Mardi Gras!

One of my dearest friends has made New Orleans her home.  She graciously let me come visit a while back and I fell a little in love with the city.  I had decided to give myself a little rest and time when it came to my nails, and God decided it wasn't enough.  I had planned a couple of other Valentine manis for the past few days, but I got a nasty little cut right along my cuticle that I did not think would mix well with acetone...so, they'll come later (it's always the season for hearts and pink!) and today I'm showing a little Fat Tuesday love! 


*1 coat Sally Hansen Hard As Nails Hardener
*2 coats Cult Nails Flushed
*3 coats Julep Jennifer
*1 coat OPI Fresh Frog of Bel Air
*Sally Hansen Xtreme Wear Golden-I and Purple Pizzazz
*Zoya Logan
*1 coat Out the Door Northern Lights


Last year I did something similar to this, but  with a ton more layers and pretty much the same effect.  I'm getting more efficient!  I used Flushed as my purple base.  This is really similar to the beloved Fantasy Fire, but not a dupe.  This is a lighter purple, not quite a lavender, that is packed with a magenta shimmer.  You can really see it in the first picture and on my pinkie in the last.  I love this color--it's just gorgeous when you see it in the sun.  If you don't have this one, it is well worth getting!

I added a thin coat of Fresh Frog of Bel Air over the top.  This is a small green glitter in a clear base with scattered silver hex pieces.  On my accent I used Jennifer, which is a pale peach that is a pretty good nude for me.  It is sheer and a cream, and I was sure I would hate it when I saw it in my box, but I've come to love it.  I used Logan, Golden-I and Purple Pizzazz to dot on some bead strands because Mardi Gras NEEDS beads!


I finished everything off with a coat of Northern Lights, a micro scattered holo glitter in an Out The Door top coat.  In real life, it shows up much more, but you can see it flashing in my pinkie.  I almost chose a clear top coat because these are busy nails, but there's no such thing as "too much" when it comes to Mardi Gras!  I'm excited to see these out in the sun tomorrow.  I need to decided on a Valentine mani or two, though, which is proving hard--there are way too many ideas I want to try out!  Anyway, enjoy a little indulgence today!

Tuesday, January 8, 2013

New 31DC: Flakies

I didn't think too much about today's challenge because I like flakie glitter and have an amazing untried.  So, I wore a simple swatch of Cult Nails' Seductive today:


*1 coat Yello-Out
*1 coat Maybelline Plum Paradise
*1 coats Cult Nails Seduction
*1 coat Out The Door

 
I wish that I had planned better for Seduction. I used a thin base without realizing how sheer the tint of this is. In the future, I'll build my base much cleaner and better. This polish is packed with red to green duochrome flakes with scattered blue ones too. I did a horrible job of getting the color shift to show, but know that this is a-mazing! I bought it when it became pretty clear that Clairvoyant will never come back, and I think I'm okay with that. I'm dying to see this over something with more contrast, like black...

After I got home with chips in my nails, I reconsidered my flakies. Today is my best friend's birthday! She is amazing and, even though she is really not into nail polish, she stops by here to see what I'm up to. She's on the other side of the country and I miss her so much, so I wanted to do a special mani for her today. AND, I even worked in some flakies!
 

*1 coat Yello-Out
*2 coats Color Club Take Me To Your Chateau (pinkie and index)
*2 coats Julep Dendrie (middle and thumb(
*2 coats Sally Hansen Xtreme Wear Black Out (ring)
*2 coats Finger Paints Motley (all but ring)
*Sinful Colors Snow Me White
*Cover Girl Candy Corn
*1 coat Out The Door


I decided to use Finger Paints Motley as my flakie.  I layered it over Take Me To Your Chateau and Dendrie to look icy.  I alternated those two because I just couldn't decide which look I liked better.  Both a clean, cream finishes.  Take Me is a pale sky blue, which has streaked a bit each time I used it, but definitely not enough to ditch it!  Dendrie is a pale, warm gray (is that possible?) that also covered really easily in 2 coats.  There were not really any streaking issues with this. 
I used 2 coats of Motley to amp up the flakes.  It's funny that, in these photos, the green really shows in the flakes because in real life, the blue is much more dominant.  My middle nail (gray base) is the easiest to see both colors on--blue down the center and green on the sides.


I used Black Out for my penguin (bestie's favorite animal!), with Snow Me White brushed on for the tummy.  I dotted on the eyes and used Candy Corn to dot on the feet and beak.  I'm pretty proud of how these little guys turned out!  I'm definitely going to use them again sometime--they were pretty easy and super cute! 
So those are my flakie nails--both the ones I wore and the ones I painted tonight to celebrate an amazing girl!  Do you like to paint your nails in honor of others?  I love looking down and seeing something that reminds me of people I love! 


Monday, December 10, 2012

"I am one with the Yuletide"

"Know what I mean?"
Ernest Saves Christmas truly is one of the greats.  Watch it.  You will NOT be disappointed!
It was so sad to see my little snowmen go!  I got a lot of compliments from them, including my little cousin, and loved how they turned out.  BUT, then I made a list of the Christmas manicures I wanted to try, and realized that I'll need to change almost every day to squeeze them all in, so I had to say goodbye.  It was sad, but then I fell a little in love with this simple combo, so I might be over it.  Plus, you can rock snowmen again in January, right?  Right.
I initially wanted to do these nails(the pin doesn't lead to anything, but when I searched the watermark I found Linda165 on Youtube with a ton of tutorials!) for Thanksgiving, but I was really busy and didn't have quite the perfect colors, so it didn't happen.  Enter Christmas!

 
I have a tendency to use the same colors again and again, which means that I have a lot of pretties that go untried.  Meet Cult Nails' Annalicious!  I was about to use Danke-Shiny again, which is amazing, but saw this in my drawer and decided to give her a try.  This is a vibrant, bright red and gives a whole new look to this mani.  It's an orange/tomato red with tons of gorgeous red shimmer packed in.  The polished looked really thin with the first coat, but a second was all it needed.  I'm so glad I went with this bright, cheery red!


For my gold, I started with two coats of Sally Hansen Xtreme Wear Golden-I.  This is a really pretty, shimmery foil gold with decent coverage.  I added a coat of Finger Paints Elves Bells over the top.  This pretty golden glitter is quite dense.  It has micro gold glitter and scattered, larger holo hex pieces.  It blends perfectly over Golden-I and adds just a little extra special.


I used some coupons and promos today and went on a little spree at Ulta and Sally's. This Finger Paints was the only one from Sally's, but I ended up with 4 free polishes from Ulta and a $5 off $10 coupon, ending up at less than half my original total. Score! One of my freebies was OPI Skip the Gift Wrap, a shimmery dark green with a foil finish.  I used 2 coats as the base for my pinkie and then added 1 coat of China Glaze Winter Holly, another Ulta find.  This green glitter is really dense, packed with micro dark green and gold glitter that flashes holo.  It's really pretty--don't take my pictures' word for it1


Because my nails are kind of stained (I'm sure you wouldn't understand that) I needed a nude base, so I used 3 coats of Julep Jennifer.  Then, with Annalicious, Skip the Gift Wrap and Golden-I, I dotted around the nail.  I used a thick coat of Seche Vite to seal it all up (I don't really have a choice there--my bottle's only about half full and now is SUPER gloopy.  Any recommendations?  Will thinner ruin the fast dry?).


I had a revelation tonight as I looked at these.  I am not very good at nail art.  I rush to take pictures and don't clean up well.  I neglect my cuticles (but I'm trying there!).  I am not perfect and envy the skills of almost every blogger I come across.  That being said, I'm not going to apologize or put down my work anymore.  I really like how this looks!  I loved my little snowmen!  I could critique their noses or cringe at the odd placement of dots here, but the reality is that I look down at my hands and it makes me happy.  This isn't a response to anyone but myself.  I could go on about how dots are all I can do and I wish I could successfully stamp, but I really want to stop that doubting, criticizing part of me and be a little gentler with myself.  I figure saying it publicly will hold me to it.  I love how sparkly and festive these are!  What are you loving about your nails?  How are you being good to you today? 

Wednesday, December 5, 2012

Frosty

I'm deep into the Christmas spirit now!  I picked out a tree tonight and got it decorated.  The only room I haven't Christmas-fied yet is my bathroom, but that will come tomorrow night--I needed to take a rest to take in the holiday goodness!  So, I lost a rhinestone and figured it was time to try another Christmas mani.  This is another one I found on Pinterest and then followed back to a favorite blog of mine, Top Coat It!


*1 coat Sally Hansen Hard As Nails Hardener
*2 coats Julep Kate
*1 coat Sally Hansen Xtreme Wear Disco Ball
*Cover Girl Candy Corn
*Sally Hansen Xtreme Wear Black Out
*1 coat Out The Door

I used 2 coats of Julep Kate for my white base.  I love that it is not "white out" white and has a little bit of a shimmery finish to it.  The almost-cream finish softens the white just a bit and I've come to really love it.


Over Kate, because I really don't feel like my nails are polished without a little sparkle, I used one coat of Sally Hansen Xtreme Wear in Disco Ball.  This is pretty, though not really original.  It's your typical iridescent glitter that doesn't take away from the base but adds a little extra special to a mani.  I figured ice and snow sparkle, right? 


For the noses I used Cover Girl Candy Corn.  I loved their Boundless Color line and was so sad to see it go.  This orange is a favorite of mine, a little dusty in a perfect cream finish. Of course, I dotted on the face with my trusty Sally Hansen Xtreme Wear Black Out.  I sealed up the whole thing with a thick coat of Out the Door.
I am really pleased with how these little guys turned out!  I usually find a way to botch even simple dots. but these are pretty clean.  I think I went extra slow knowing how obvious smudges would come out.  My mom got really into snowmen at Christmas a few years back, so I really hope she likes these!  I think they are such a fun, easy winter/holiday design that I might have to try them again post-Christmas.  Have you done a snowman mani yet this year?  Do you have another design I should try?  Do tell!

Wednesday, October 31, 2012

31DC: Recreate your favorite

I've made it to the end! I really did not think that I would make it much past the first week, but now I can say that I have completed the 31 Day Challenge! The final challenge is to recreate your favorite from the month. There are a ton that I loved and am excited to try again or work on. This was a bit tricky because today is Halloween, so I really wanted to choose one that was Halloween-themed. Then I couldn't decide. So, here's my Halloween skittle!


That's the lineup!  I changed up a few polishes from the original designs, but most are the same.


Day 12: Stripes.  My candy corn is a Color Club Almost Famous base, Sally Hansen Xtreme Wear Sun Kissed and Julep Kate, topped with Out The Door Northern Lights.  It's getting late and I know that this will be coming off tomorrow night, so instead of waiting for the base to dry an use tape, I freehanded the stripes.
 

Day 2: Orange.  For my orange nail, I used Zoya Myrta instead for this nail, which is a bit darker than the previous 2.  It is still shimmery with a great "foil" finish.  This Surf collection is gorgeous and they need no more than 2 coats.  I used Black Cat Lacquer Static Age again over the top.


Day 23: Inspired by a movie.  I decided to give Mr. Skellington another try. I couldn't decide between him and spider webs from my black and white mani, but I'm going to see my aunt tomorrow, and I'd love for her to see him!  This is 2 coats of Julep Kate with Sally Hansen Xtreme Wear Black Out for accents.


Day 29: Inspired by the supernatural.  It's not Halloween without the Great Pumpkin!  I wanted to do the pumpkin that I painted again, but because I was doing this on both hands, I worried I wouldn't be able to pain straight lines.  So, I had to settle for this polish that I love!  Bummer!  This is 2 coats of Zoya Yara under the awesome Sonoma Nail Art Sincerest Pumpkin Patch.


Day 11: Polka dots.  Before I began this challenge I really wanted these little spooky eyes to be my Halloween mani.  I used 2 coats of Fantasy Makers Rest In Pieces with Kate and Black Out for the eyes.  I love these little eyes!


So there it is!  This is my Halloween look and a decent round-up of different themes and techniques from this month.  Thank you so much for sticking with me through some of the rougher challenges and letting me get excited about the ones I felt successful about!  I'm a little sad that it's over because it forced me to try new things and to post all the time.  I do have a lot to revisit, though, and try with new insight.  Plus it's fall now, so it's a whole new color palette to play with (not that I really stick to "seasonal" colors).  Have you completed the challenge?  What are your favorite days to do?  What are you wearing for Halloween?  I'd love to hear!

On a side note, on 10/20 I mentioned that it was my 4 month anniversary of starting this blog and I was so excited to have reached 450 page views.  In the past 10 days I have reached over 700!  I am so amazed that there are people out there who are interested in what I am doing and I want to THANK YOU so much for stopping by!  Please feel free to leave me comments and start up a conversation--I can talk about nail polish for days!

Tuesday, October 30, 2012

31DC: Inspired by a tutorial

Here we are--the last original challenge!  I am so proud of myself for sticking with this all month and pretty impressed with how far outside of my little comfort zone I ventured!  I have learned a lot of new techniques and found a ton of places for improvement, but overall I am really pleased with a lot of the work that I did! 
Today feels a bit redundant, like my color inspiration did.  I used different tutorials for many manicures this month (gradient, galaxy, water marble, animal/sponging, etc.), even more manis for inspiration, and really have found so much help out there!  There are a million other tutorials I am excited to try, but today I wanted to do a dot mani from one of my favorite blogs, Chalkboard Nails.  I wanted to make this a little Halloween-y, so there aren't any untrieds today.


*1 coat Sally Hansen Hard As Nails Hardener
*2 coats China Glaze Elephant Walk
*Julep Kate
*Sally Hansen Xtreme Wear Black Out
*1 coat Seche Vite


Now, before I begin, let's talk about the elephants in the photos (no pun intended).  First off, those awful red cuticles are a little reminder of my beloved Supernatural mani yesterday.  I scrubbed and used q-tips.  They were getting drier, but not cleaner.  Sorry!  Secondly, today I did not work, which means that I let my hair stay down.  As long as it is, that made a big problem.  As I finished up, it rubbed right over the top of my tacky black dots.  I know, those streaks are the only thing I can look at too.  I liked everything else so much that I just didn't have the heart to redo it all...


I used Elephant Walk as my base because I didn't think it was opaque enough to use for dots.  I love the soft shimmer of this polish, which you can really see in the pictures.  Using the larger end of my dotting tool, I used Kate first, and then switched to the smaller end. 

 
The dots are supposed to overlap a bit (I wish I had done more of that) so I decided to do Black Out second, unsure of how well white would cover it.  Again, I started with the large side and then switched to the small.  I love how they look like little bubbles!  The ones my hair did not ruin turned out really cute.  I had to go back and adjust the shape of my dotting.  A couple moved down one side more than the other, almost like a little wave.  This would have been fine if I had done it for all for them, but I didn't.  That's one thing that is wonderful about this design--it's so easy to add dots in and adjust the effect!


That middle nail is my favorite!  It turned out the most like the tutorial and the dots are clean.  I think that I would like to try this again with a bigger difference in the sizes of the dots--these are kind of close, so there isn't a ton of contrast.  Overall, this is such an easy, cute design that can lend itself to any color combo or season.  You will be seeing it again very soon!
What tutorials have you found and loved?  What do you think I should try out next?

Monday, October 29, 2012

31DC: Inspired by the supernatural

I have been so excited about today's post!  I saw this "supernatural" challenge and was really worried about what on earth I could do.  Then inspiration struck!  I was so bummed that it was late in the challenge, but it's kind of perfect because it's a Halloween mani!  I'm also really pleased with how it turned out (which is rare when I attempt nail art).  I have one awesome untried today.  Here it is:


"It's the Great Pumpkin, Charlie Brown!"


Growing up just north of Charles Schultz's hometown, the Peanuts gang was a huge part of my childhood.  My family loves them and no holiday is complete without a Charlie Brown special.  In honor of the mystical Great Pumpkin, here we go!


"I don't understand it. I went trick-or-treating and all I got was a bag full of rocks."  Poor Charlie Brown!  I already recreated his iconic shirt for my yellow post, so this time I recreated his ghost costume (ignore the red around my cuticle from my flag nails--that was NOT coming off!).  Chuck has a little trouble in the scissor department, but don't we all sometimes?  I used 2 coats of Julep Kate and Sally Hansen Xtreme Wear Black Out for the eye holes.  In real life they look a little cleaner, but I kind of like how they are a bit messy, like the original comics were.


"On Halloween night, the Great Pumpkin rises from his pumpkin patch and flies through the air with his bag of toys to all the children."  Linus, with all of his hope and innocence, waits patiently for the Great Pumpkin to visit his pumpkin patch all night.  No matter what anyone says, his faith endures.  For his shirt, I used 2 coats of OPI Danke-shiny (gorgeous--a post on that later!) and Black Out. 


"There he is! There he is! It's the Great Pumpkin! He's rising out of the pumpkin patch!"  Okay, okay, it's not the real Great Pumpkin, but a really sparkly pumpkin.  Linus took such pride in his patch.  I used 2 coats of China Glaze Riveting, Black Out for the accents, and Zoya Yara for the grass and stem.


"Each year, the Great Pumpkin rises out of the pumpkin patch that he thinks is the most sincere. He's gotta pick this one. He's got to. I don't see how a pumpkin patch can be more sincere than this one. You can look around and there's not a sign of hypocrisy. Nothing but sincerity as far as the eye can see."  AHHH!  I could NOT wait to get this polish and it just came!  I tried a couple of times to get Sincerest Pumpkin Patch in Sonoma Nail Art's Etsy sales, and I missed out.  I was going to have my mom stop by a boutique that sells them, but I finally scored online!  She makes such gorgeous polishes, most of them tied to our home area, and I just can't get enough!  This polish is a-mazing!  It is thin, as far as the indie glitters I've tried, which makes it really easy to work with.  The green tinted base is full of green glitters in different shapes and sizes, silver glitter that looks green, and orange hexes to look like pumpkins.  I love this!  This is just one coat over 2 coats of Zoya Yara. 


"I had to listen to you, you blockhead. What a fool I was. Trick or treats come only once a year, and I missed it by sitting in a pumpkin patch with a blockhead."  Now, I take issue with Sally in this film.  She is deeply infatuated with Linus, her sweet Baboo, and agrees to watch for the Great Pumpkin with him.  She is head over heels with Linus and follows him, and then turns on him!  Sally, we all learn the harsh lesson not to use our heads instead of our hearts, that they will waste our time, but show a little compassion!  She is usually not this brutal... For her dress, I used 2 coats of Zoya Skylar and Black Out for the polka dots.


So there is my tribute to the Great Pumpkin and the most sincere pumpkin patch around!  I love these nails and am really sad to see them go.  What are you asking the Great Pumpkin for this Halloween?  If it's this gorgeous polish, you can let him know that her Etsy shop will open tomorrow (10/30) at 5pm Pacific!

31DC: Inspired by a flag

Eeek!  I'm a little late posting today's challenge.  For the record, this was finished and photographed by 11:56 pm.  Just in case you cared...
Today is inspired by a flag.  This is pretty random and doesn't really seem to fit with the other challenges, but so it goes.  I considered trying a pirate theme, but then I decided to try to redeem my abysmal Fourth of July nails.  I have 2 untrieds today (sorry, I've been forgetting to track them!)


*1 coat Sally Hansen Hard As Nails Hardener
*2 coats Julep Kate
*2 coats Sally Hansen Insta-Dri Co-Bolt Blue
*China Glaze Ruby Pumps
*1 coat Julep America
*1 coat Seche Vite


This is much closer to what I had actually planned to paint in July, until my red polish wouldn't open.  I tried a new white for this one--Julep Kate.  While very subtle, this has a soft shimmer to it that helps make the white less harsh and white-out-y.  I think I'll be using it more frequently now that I know how nice it is.  I used 2 coats, which cut down on streaks.  If it wore it alone, with a glitter, I think I might do 3.


Previews of America are really what prompted me to sign up for Julep.  It was so pretty in the swatches I saw that I signed up and got it in my first non-intro box.  I had not used it yet, and was a little disappointed.  The micro red glitter, blue and silver hexes show up well and and were easy to apply.  I did not see any stars, though, as I fished through :( 
 

It's funny how things show up so differently in photos and in real life.  In these pictures I like America a lot more--it lets Co-Bolt Blue show more.  In real life, it is actually pretty opaque for a layering glitter.  Ruby Pumps looks really thin in these photos, with Kate showing through, but is dark and glittery in person. 
I'm curious to know your thoughts on Julep.  I am getting this month's box, and it's the first I have chosen since the summer.  I have not been over-the-moon stoked with the polishes so far.  Do you subscribe?  Are there colors you love that I need to add on?  I can definitely say that their customer service is amazing, but I'm on the fence about the polish right now.
If you've never tried Julep and want to see what their polish and products are about, you are welcome to use my referral link (http://www.julep.com/rewardsref/index/refer/id/47422/) and use "COLOR2012" at checkout to get your intro box for $0.01 (that's right, just a penny!).

Monday, October 1, 2012

31DC: Red

So here it begins!  It's the first of October, and I am going to do my best to get a new mani, on the right theme (or my cheat of it) each day.  I'm glad that we ease into things with colors.  I know that last month the ladies focused on their untried polishes.  I can't guarantee that each post will have untrieds, but I have a lot to choose from, so most should!  Today's red nails have 4!


*1 coat Sally Hansen Xtreme Wear Black out on all but ring finger
*2 coats Spoiled Ants In My Pants on pinkie, middle and index finger
*2 coats Fantasy Makers Once Upon A Time on thumb
*3 coats Julep Jennifer on ring finger
*accent in Zoya Arizona (I forgot that one in my picture--sorry!)

I was just going to give these gorgeous glitters a try, but the point of this challenge is to, you know, challenge me.  I decided to go all in and give a little nail art a try, incorporating a touch of gore/Halloween with a Dexter homage.


When I nabbed the cute Fantasy Makers I forgot about Ants In My Pants.  When I got home and saw the sorta-dupes, I was disappointed in myself.  Luckily, they were each less than two dollars!  I decided to use both to see how they compared.  I started with a black base because the tinted bases of these looked pretty thin.  The strange thing about them, which you can see both in the photos and in real life, is that it actually looks blue or purple. 
You can see in the picture that Once Upon A Time on my thumb has glitter that is much denser than Ants In My Pants, but both were really easy to apply--no glitter maneuvering needed!  I personally (though I know no one agrees) kind of like the uber-wide Spoiled brush, but if you have one you don't really need the other unless you are completing a collection.


Jennifer was very sheer.  I used 3 coats and you can still see nail line in real life.  It is a creamy almost-perfect nude for me.  I used a small paint brush and America to attempt the signature slice from Dexter's work. It's not great, but for me it is a big deal because I almost NEVER attempt any art in my polishing.


You can get a better idea of the blue tint of the base in this one.  And, on a side note, how cute are the Fantasy Makers' bottles?  I know I'm late to the bandwagon, but they're pretty cool seasonal bottles!


So there it is: day 1!  I am a little worried I won't be able to follow through with the whole challenge, but I'm one day closer to completion!
Have you taken the challenge before?  Would you give it a try?  Again?